
How To Apply Decals To A Model
Adding decals to your model is arguably the most fun and rewarding part of the whole model building process. Watching your model spring to life before your eyes and go from a painted lump of plastic to a true representation of a real life vehicle, all with a thin sheet of printed paper. Follow these 5 steps to get water slide decals on your model with ease.
1 - Prepare the surface
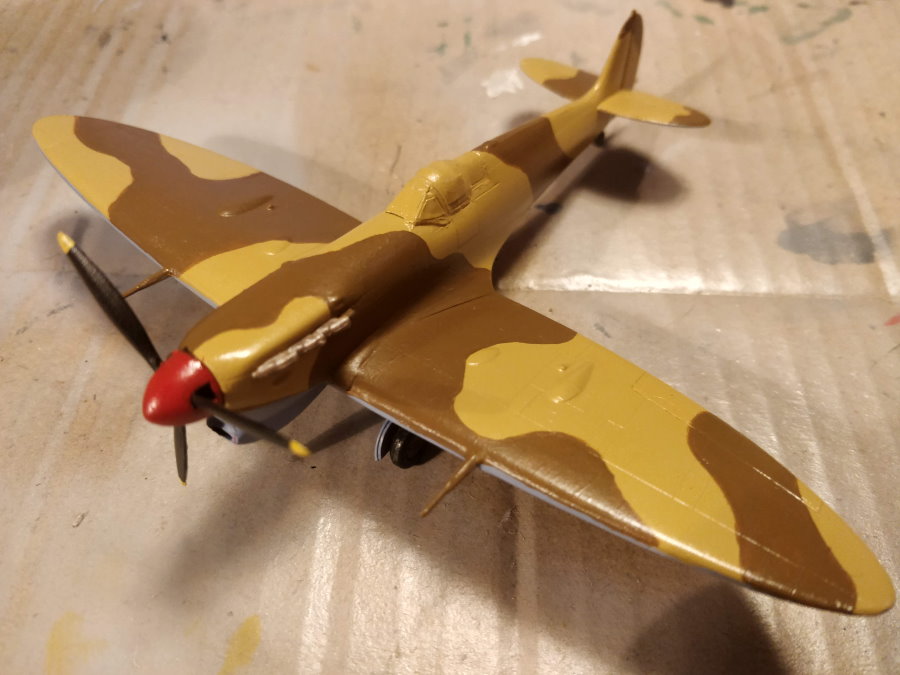 Smooth the surface by applying a thin coat of gloss varnish and allowing it to dry thoroughly. Decals are thin and dry to form a very smooth surface, so it makes sense to ensure they have a very smooth surface to stick to. If the surface a decal bonds to is rough then tiny air pockets will form which will be highly visible, so it is very important to get the model surface smooth.
2 - Soak Decals In water
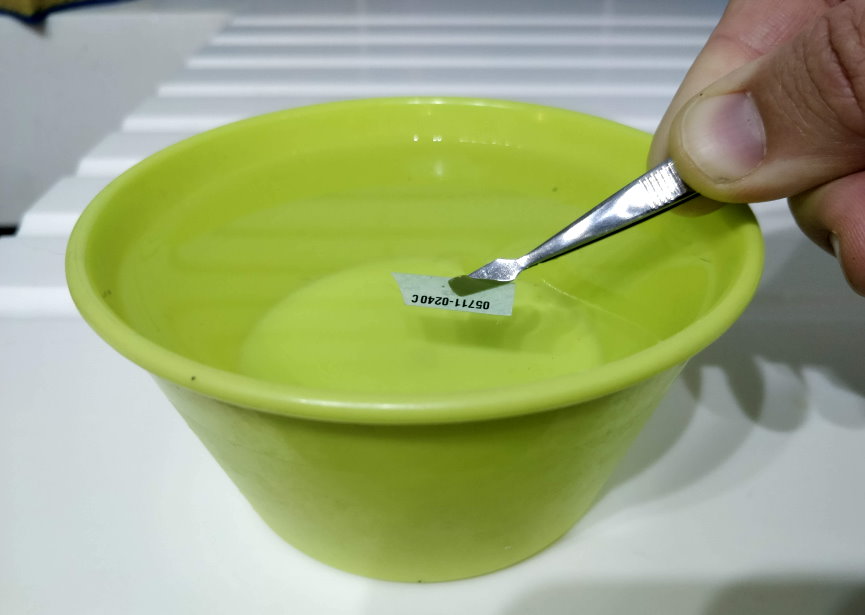 Cut the decals out from the sheet one at a time and submerge them in tepid (luke-warm) water for 30 seconds, or until the decal can be moved on the backing paper. Be careful not to over-soak the decals or use water that is too warm as this can cause them to leaved the backing paper whilst still in the bath!
3 - Slide the decal onto the model
 Remove the decal from the water with tweezers and slide onto the model. If there is excess water pooling on the surface of the decal you can dab it on a paper towel first but this may not be neccassary. Using a relatively stiff brush, toothpick, or just your finger(!) carefully slide the decal from the backing paper onto your model. You can position the decal for a short time after it has been transferred.
4 - Apply A Softening Solution
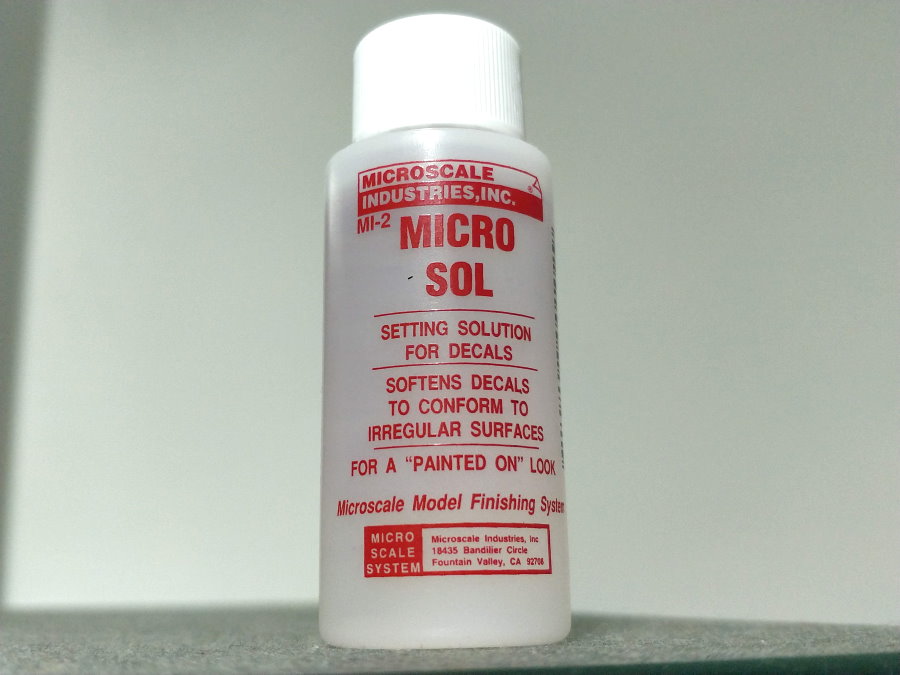 A decal solution will soften the decal matrix and cause it to drape down into the surface details of the model. The industry standard solution for softening decals is Micro Sol and it is well worth ordering a bottle of this and following the contained instructions. You only need apply a small amount with a brush and leave for it alone to do its magic.
5 - Apply a Protective Coat
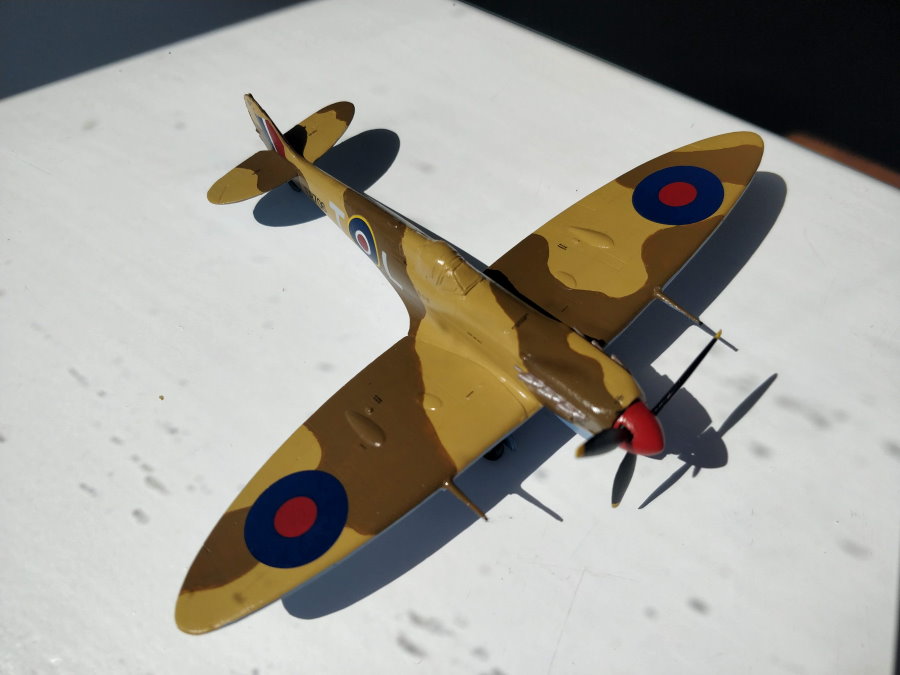 Decals are delicate once applied so it is important to add a protective clear coat to your model. Depending on the model you will usually want to use matt/satin varnish to finish your model as a gloss varnish can look unrealistic even on a model that is intended to be shiny.
After they have been applied, the decals should have the appearance of being "painted on". You can apply weathering to the model after the decals have been applied to add some extra realism!